
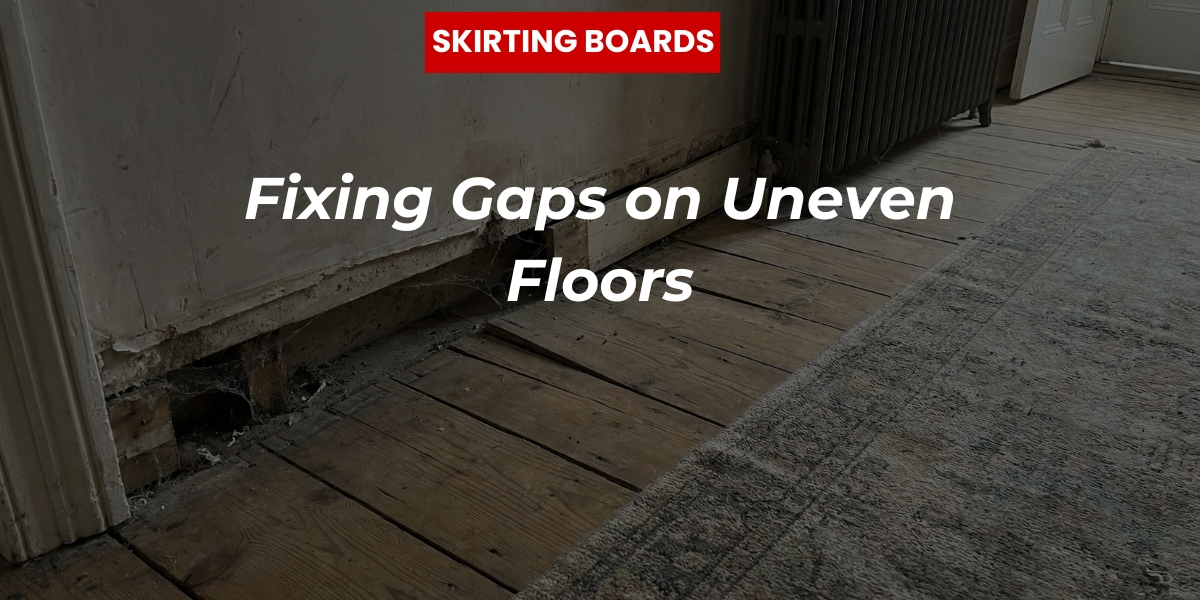
Effective Techniques for Fixing Gaps on Uneven Floors
It is not uncommon to see daylight between the skirting boards and the floor. These gaps are especially common in older houses, where timber settles, old floorboards dip and twist, and the building shifts with time. Even in newer homes, poorly laid planks or uneven surfaces can cause visible separation.
Aside from ruining the look, these openings let in draughts, collect dust, and break the clean line of your design. Fortunately, fixing skirting board gaps on uneven floors is doable. Here’s how to tackle the job properly.
Step 1: Check the Lay of the Land (or Floor)
Before reaching for tools or filler, take a close look at your floorboards to see if they are bowed or if one side higher. Use a spirit level or straightedge to spot problem zones along the bottom of the skirting. Pay attention to whether you’re working with laminate, tile, or solid wood, as each may need a different approach.
Some gaps are cosmetic, while others signal deeper issues with your floor or substructure. Understanding the root cause helps you avoid fixing the same problem twice.
Step 2: Choose Your Method (Scribe, Fill or Seal)
Not all gaps are equal, and not all repairs are either. Here’s how the three main fixes compare:
| Method | Best For | Pros | Cons |
|---|---|---|---|
| Scribing skirting | Uneven floors with high variation | Seamless, custom look | Takes time and tools |
| Flexible filler | Small gaps and irregular surfaces | Quick, paintable, adaptable | Can crack with movement |
| White silicone / caulk | Tiny gaps, internal corners, edges | Flexible and discreet | Messy if rushed |
If you’re trying to fix a 5mm opening without pulling up the boards or relaying the floor in one room, then a combination of filler, caulk, or scribing is your best bet.
Step 3: Cut and Dry Fit the Boards
If replacing skirting, begin by cutting to length and dry-fitting against the wall and floor. This will expose all the gaps. Use a pencil to mark high and low points. You’ll use these to scribe an accurate fit.
Make sure you have the following:
- Pencil
- Saw
- Spirit level
- Tape measure
Make sure your angle cuts, especially around external corners and internal corners, are precise. A miscut can ruin the whole line and leave awkward gaps.
Step 4: Scribe for a Made-to-Measure Fit
Scribing skirting is an old-school trick that still delivers modern results. Using a compass or profile gauge, trace the shape of the floor onto the base of your skirting board. Keep the compass level as you go, following the contour of the surface smoothly.
Use a block plane or jigsaw to pull material from the scribed line. Work slowly. It’s better to trim small amounts than go too deep and have to replace the board.
Test the fit. The bottom of the skirting should hug the floor snugly without rocking.
Step 5: Fill and Seal All the Gaps
For anything under 5mm, flexible filler or white silicone is perfect. It adapts to minor movement in the house and finishes clean. Apply with a caulk gun along the gap, then smooth it using a damp cloth or finger. Laying masking tape along the floor keeps your work sharp.
Top tip: wipe off excess before it sets, or you’ll be forced to sand or scrape later.
For dusty spots, vacuum the gap first. Filler won’t bond well to grit. If the opening is large or deep, consider a bead of timber or trim for extra support before you fill.
Step 6: Final Touches for a Professional Finish
Once everything’s sealed and dry, sand lightly for a smooth surface. Then paint, stain, or apply sealant to the skirting to match your room. Whether you’re using MDF, real wood, or pre-primed boards, a neat finish ties the whole course together.
Pay attention to corners, joints, and where the skirting meets the wall. These details create that finished, deliberate look.
Once finished and the job has been done right, the results instantly elevate a room.
Tools & Materials Checklist
Make sure you have all the right kit and a little patience to get the job done to a high standard:
| Tool | Purpose |
|---|---|
| Block plane | Shaping scribed edges |
| Pencil | Marking contours and angles |
| Spirit level | Checking alignment of floor and wall |
| Compass/gauge | Tracing floor profiles |
| Caulk gun | Applying white silicone or filler |
| Damp cloth | Smoothing and wiping excess |
| Masking tape | Protecting edges while applying sealant |
Optional: sandpaper, wood glue, bead trims, or full board replacements if damage is beyond repair.
Long-Term Tips to Keep Things Neat
In a house with a moving floor, revisit your skirting occasionally. Tiny cracks can grow, especially if ignored. Reapplying flexible filler or silicone takes minutes and prevents bigger issues.
If you’re redecorating or adding new carpet, double-check the lay of the skirting. It’s far easier to adjust it now than after the flooring goes down.
Want more DIY advice? Explore our other posts on trimming awkward corners, scribing around pipework, and choosing skirting for uneven floors. When it comes to a polished room, it’s the small details that count.
FAQs
How do I fix gaps between skirting boards and uneven floors?
Use scribing skirting, flexible filler, or white silicone, depending on the size and shape of the gap. Assess the floor, then choose the method that gives the cleanest fit.
What’s the best filler for gaps under skirting?
A flexible filler works best for small to moderate gaps, especially in a house where floors may shift. It’s easy to paint over and can move with seasonal changes.
Can I use masking tape when sealing all the gaps?
Yes, apply masking tape when you fill gaps. It helps keep your lines sharp when using caulk, filler, or sealant. Just remember to wipe away any extra with a damp cloth before it dries.
Should I replace warped boards or try to fill the gaps?
If a board is badly bowed or damaged, it’s better to replace it rather than try to fill around or cover it. For minor issues, scribed fitting and flexible filler can still deliver a neat result.